 Gettysburg, 1-3 July 1863
 |
|
 Guadalcanal, August 1942-February 1943
![]() Galena, U.S.S., the second Union ironclad, from a 1864 sketch
Galena, U.S.S., the second Union ironclad, from a 1864 sketch
![]() Gallipoli Campaign: The Naval Attack, 18 March 1915
Gallipoli Campaign: The Naval Attack, 18 March 1915
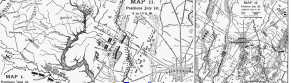
![]() Gallipoli Campaign: Initial Landing, 25 April 1915 and Turkish Dispositions
Gallipoli Campaign: Initial Landing, 25 April 1915 and Turkish Dispositions
![]() Gallipoli Campaign: The Landing at Suvla Bay and the ANZAC breakout, 6/7 August 1915
Gallipoli Campaign: The Landing at Suvla Bay and the ANZAC breakout, 6/7 August 1915
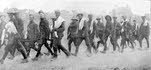
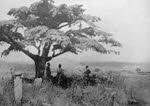
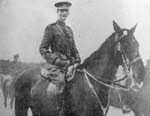 Sir Ian Hamilton inspects troops, Gallipoli
 East Lancashire Ambulance Corps, Gallipoli
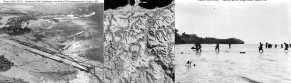
 Turkish POWs bathing in the sea at Gallipoli
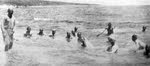
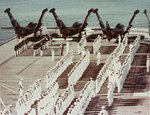
 Allied troops preparing to swim, Gallipoli
 Turkish sniper captured at Gallipoli
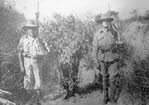
 Senegalese and French soldiers, Gallipoli
 Seddul Bahr Cemetery, Gallipoli
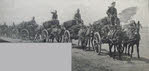 Indian troops bringing forrage for mules, Gallipoli
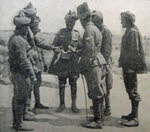 Indian Troops examine shell fragment, Gallipoli
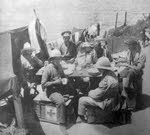
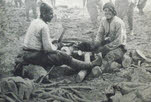 Turkish POWs cutting wood, Gallipoli
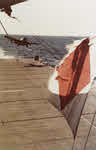
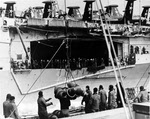
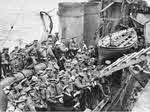 Australians moving from HMS Usk to HMS London
![]() Gauley Bridge, West Virginia, 1861
Gauley Bridge, West Virginia, 1861
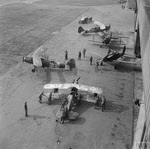
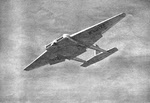 General Airborne Transport CG-16 in flight
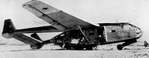
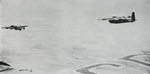 Handley Page Halifax towing General Aircraft Hamilcar
![]() Gewehr 41 semi-automatic rifle
Gewehr 41 semi-automatic rifle
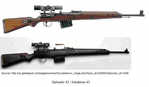 Gewehr 43 semi-automatic rifle
 Arado Ar 96 and Gotha Go 145s at Celle, 1945
 Gotha Go 242 glider at Catania, 1943
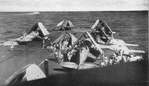
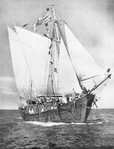 Greek caique serving as mine sweeper
 Commodore Walter Griffith (d.1779)
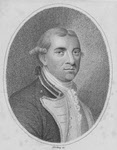
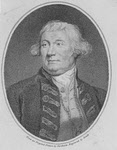 Admiral Thomas Graves, 1725-1802
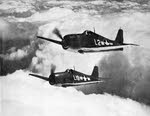
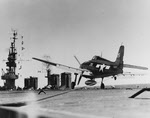
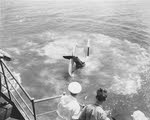 Grumman Avenger overboard from RN Carrier
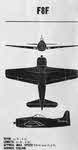
![]() Grumman F4F-3 Wildcat: Front plan
Grumman F4F-3 Wildcat: Front plan
![]() Grumman F4F-3 Wildcat: Side plan
Grumman F4F-3 Wildcat: Side plan
![]() Grumman F4F-3 Wildcat: Top plan
Grumman F4F-3 Wildcat: Top plan
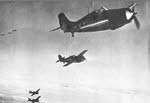
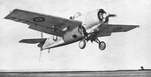
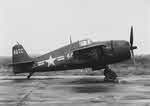
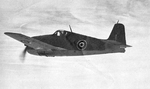
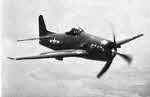
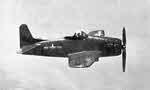
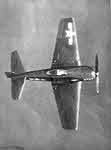
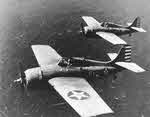 Grumman F4F-3 from VF-3, Hawaii, 1942
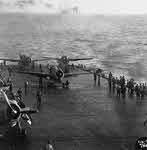
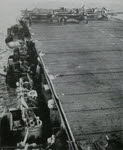
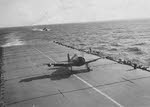
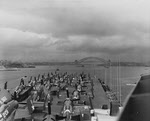
 SBDs and F4F-4s on USS Santee (CVE-28) during Operation Torch
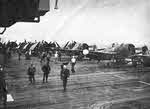
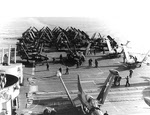
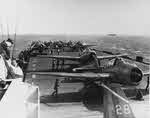 TBF-1Cs and FM-1s on USS Anzio (CVE-57)
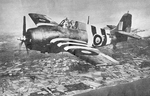
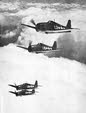
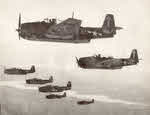
 Formation of Eastern Aircraft FM-2 Wildcats
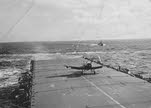
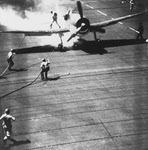
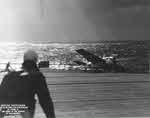 FM2 Wildcat crashes on USS Core (CVE-13)
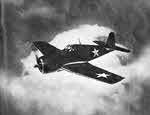
 FM-2 Wildcat on USS Anzio (CVE-57)
 FM-2 Wildcats on USS Kitsun Bay (CVE-71), Samar
 Grumman Wildcat of HMS Searcher
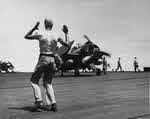
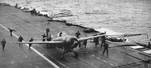
 Wildcats about to take off from HMS Searcher
 Grumman Wildcast of Fleet Air Arm with Invasion Stripes
![]() Grumman Martlet lined up to take off
Grumman Martlet lined up to take off
![]() Grumman Martlet descending into the hanger deck
Grumman Martlet descending into the hanger deck
![]() Grumman Martlet showing the folding wings
Grumman Martlet showing the folding wings
![]() Grumman Martlet of the Fleet Air Arm in US colours
Grumman Martlet of the Fleet Air Arm in US colours
![]() Grumman Martlets flying in formation
Grumman Martlets flying in formation
![]() Grumman Martlets in the western desert
Grumman Martlets in the western desert
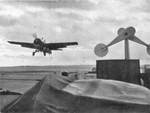
 Grumman Martlet lands on carrier
 Grumman Martlet lands on HMS Victorious
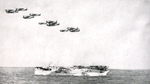 Grumman Wildcats over HMS Pursuer
 Grumman XF5F-1 Skyrocket in flight
![]() Grumman F6F-3 Hellcat: Front plan
Grumman F6F-3 Hellcat: Front plan
![]() Grumman F6F-3 Hellcat: Side plan
Grumman F6F-3 Hellcat: Side plan
![]() Grumman F6F-3 Hellcat: Top plan
Grumman F6F-3 Hellcat: Top plan
 Grumman F6F-3 being hoisted on carrier at San Diego, 1943
 Grumman F6F-5 during trials, 1949
 Formation of Grumman F6F Hellcats (1 of 2)
 Formation of Grumman F6F Hellcats (2 of 2)
 Belly Tank under Grumman F6F Hellcat
 HMS Ocean and Hellcat of 892 Squadron, FAA (1 of 2)
 HMS Ocean and Hellcat of 892 Squadron, FAA (2 of 2)
 Grumman Hellcat I 'going around'
 Grumman Hellcat of the Fleet Air Arm
 Grumman F6F Hellcat Night Fighters on a flight deck
 Grumman F6F Hellcat from the left
 British F6F Hellcat coming in to land on USS Tulagi (CVE-72)
 F6F being waved off from USS Tulagi (CVE-72)
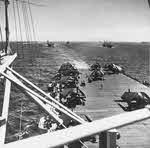 Operation Dragoon invasion fleet from USS Tulagi (CVE-72)
 Grumman F6F prepares for take off, USS Bennington (CV-20)
 Film show in hanger, USS Yorktown (CV-10)
 Grumman F6F by island of USS Yorktown (CV-10), 1943-44
 Grumman F6F Hellcat lands on USS Cowpens (CVL-25)
 Burning Grumman F6F-3 Hellcat on USS Cowpens (CVL-25)
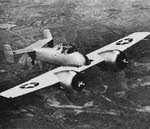
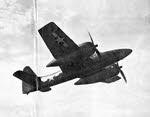
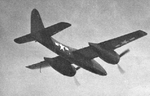
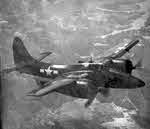
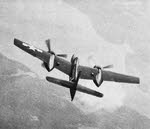 Grumman F7F Tigercat from Behind
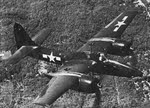
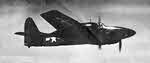
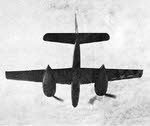 Grumman F7F Tigercat from below
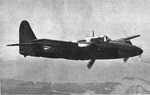
 Side view of Grumman F7F Tigercat
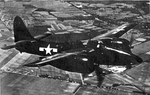
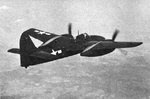
 Grumman F7F Tigercat from above
 Grumman F7F-2 Tigercat from the right
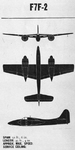 Plans of Grumman F7F-2 Tigercat
 Grumman F7F-2 Tigercat from the below right
 Grumman F7F-2 Tigercat from the right
 Grumman F7F-2 Tigercat from the above and right
 Grumman F7F Tigercat from the Right
 Grumman F7F Tigercat from above-right
 Plans of the Grumman F8F Bearcat
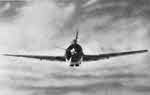 Grumman F8F Bearcat from the Front
 Grumman F8F Bearcat from the Front Right
 Grumman F8F Bearcat from the Right
 Grumman F8F Bearcat from Above
 Grumman F8F Bearcat from below-right
 Grumman F8F Bearcat from the Left
 Grumman F8F Bearcat from the front and above
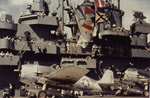
 Grumman F8F-2 Bearcat by Island of USS Valley Forge (CV-45), 1949
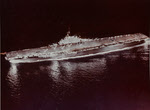
 USS Valley Forge (CV-45) in Sydney Harbour, 1948
 USS Bon Homme Richard (CV-31) on Thanksgiving 1952
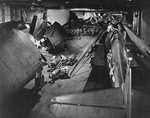
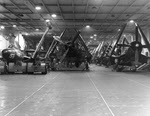 Hanger of USS Bon Homme Richard (CV-31), 1952
 Crew lined up for inspection, USS Antietam (CV-36), 1953
 USS Tarawa (CA-40) approaches Pedro Miquel Locks
 USS Philippine Sea (CV-47) receives bombs, 1950
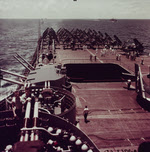
 Tractor tows F9F Panthers, USS Valley Forge (CV-45)
 Fuelling F9F Panthers, USS Philippine Sea (CV-47)
 F9F Cougar Launched at night from USS Antietam (CV-36)
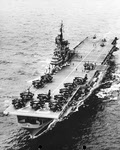
 AD Skyraiders and F9F Cougars on USS Philippine Sea (CV-47)
 Grumman S2F Trackers on USS Princeton (CV-37)
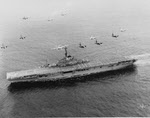 Grumman S2Fs fly over USS Philippine Sea (CV-47)
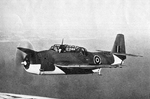 Grumman Avenger of the Fleet Air Arm
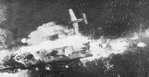 Grumman TBF/TBM Avenger attacks Japanese Destroyer at Truk
 Grumman Avenger of the Fleet Air Arm
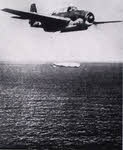 Grumman Avenger dropping torpedo at Bougainville
 Avengers and Corsairs on HMS Illustrious
 Grumman TBF Avenger From Below
 Grumman TBF Avengers on USS Barnes (CVE-20)
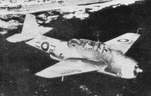
 Grumman TBM Avengers over Japan
TBF-1Cs and FM-1s on USS Anzio (CVE-57)
 Loading Torpedo onto Avenger, USS Bennington (CV-20), 1945
 SBD Dauntless and TBM Avenger on USS Independence (CVL-22)
 TBM Avenger landing on USS Cowpens (CVL-25)
 Grumman TBM-3R COD transports on USS Coral Sea (CVA-43), 1955
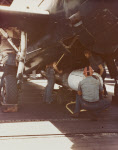
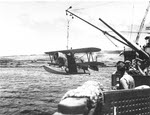 Grumman J2F being lowered from USS Concord (CL-10)
 Seafires and Wildcats on HMS Formidable
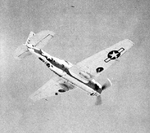
 Grumman XP-50 Skyrocket from the side
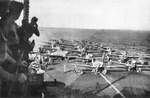
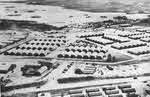 US Base at Guam Harbour, c.1945
 Guerra, Giordano Paolo, Italian Navy
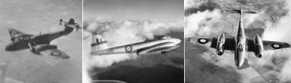 Gloster Meteor Photo Gallery
 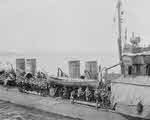 HMS Usk at Mudros, 1915
 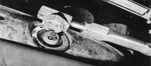 German bomb fuse
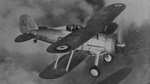 Gloster Gladiator I K6131
 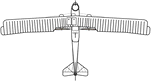 Gotha G.V top plan
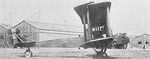 Gotha G.V from the right
 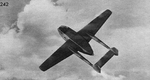 Gotha Go 242 from above
 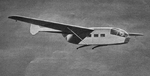 Gotha Go 242 from the Right
 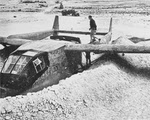 Gotha Go 242 in North Africa
 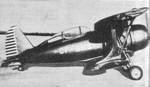 Gregor FDB-1
 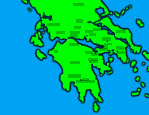 Regions of Ancient Greece
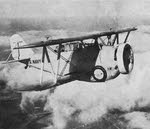 Grumman FF-1 from the right
 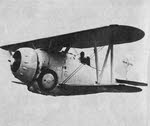 Grumman XF2F-1 from the left
 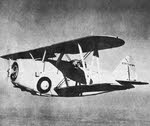 Grumman F3F from the left
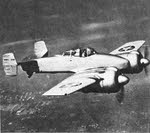
  Grumman XF4F-3 in flight
 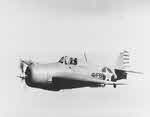 Grumman F4F-4 of VF-41, 1942
 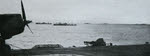 Grumman Wildcat on HMS Chaser
 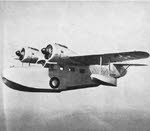 Grumman JRF Goose in Flight
 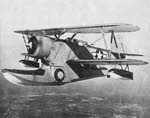 Grumman J2F Duck from Left
 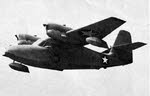 Grumman J4F Widgeon in flight