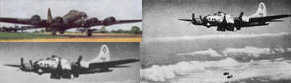
 B-17 Flying Fortress Picture Gallery
|
|
B-17 Flying Fortress Picture Gallery
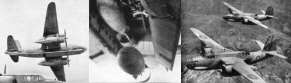
 B-25B Mitchell, North American: Picture Gallery
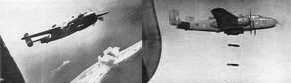
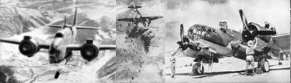
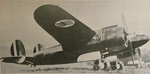
 B-26 Marauder, Martin (13 pictures)
 B-29 Superfortress Picture Gallery
 Baltimore, Martin (12 pictures)
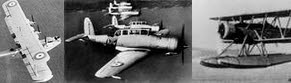 Blackburn Picture Gallery (10 pictures)
 Boston,
Douglas
(22 pictures)
Boston,
Douglas
(22 pictures)
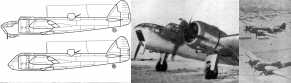 Bristol Blenheim Picture Gallery
![]() B-52 Stratofortress: Top Plan
B-52 Stratofortress: Top Plan
![]() B-52 Stratofortress: Top Plan
B-52 Stratofortress: Top Plan
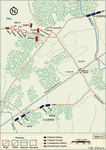
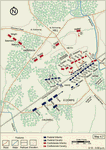
![]() Balaclava, battle of: Initial dispositions
Balaclava, battle of: Initial dispositions
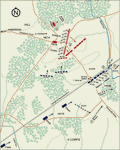
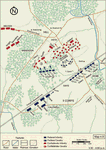
![]() Balaclava, battle of: The Thin Red Line
Balaclava, battle of: The Thin Red Line
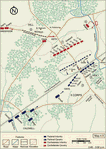
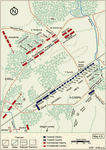
![]() Balaclava, battle of: The Charge of the Heavy Brigade
Balaclava, battle of: The Charge of the Heavy Brigade
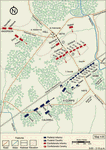
![]() Balaclava, battle of: The Charge of the Light Brigade
Balaclava, battle of: The Charge of the Light Brigade
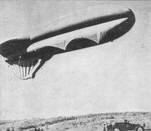 Balloon,
French Anti-Aircraft Defence, 1939
Balloon,
French Anti-Aircraft Defence, 1939
![]() Balls' Bluff, battle of, 21 October 1861
Balls' Bluff, battle of, 21 October 1861
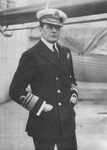
![]() Battenberg, H.S.H. Louis of, First Sea Lord in 1914
Battenberg, H.S.H. Louis of, First Sea Lord in 1914
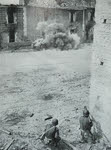 Staged bazooka hit on Panther I
 Beatty,
Vice-Admiral Sir David, commander of Battle-Cruiser Fleet
Beatty,
Vice-Admiral Sir David, commander of Battle-Cruiser Fleet
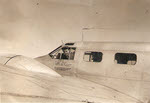
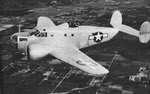 Beechcraft AT-11 of First Motion Picture Unit
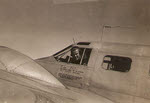
 Beechcraft C-45 'Expediter' (1 of 3)
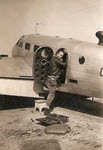
 Beechcraft C-45 'Expediter' (2 of 3)
 Beechcraft C-45 'Expediter' (3 of 3)
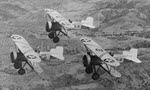
 Bell Airacobra Is of No.601 Squadron
![]() Bell P-39 Airacobras under construction
Bell P-39 Airacobras under construction
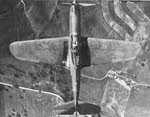
 Bell P-39 Airacobra from the front
 Bell P-39 Airacobra from above
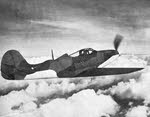 Bell P-39 Airacobra from the right
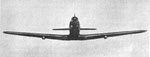
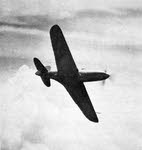 Bell P-39 Airacobra from below
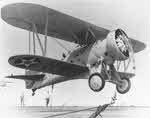
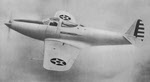 Prototype of Bell P-39 Airacobra
 Stills from Bell P-59 Airacomet training film (1 of 3)
 Stills from Bell P-59 Airacomet training film (2 of 3)
 Stills from Bell P-59 Airacomet training film (3 of 3)
 Bell P-59 Airacomet from the front
 Bell P-59 Airacomet from the left
 Bell P-59 Airacomet from above
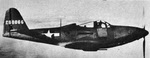
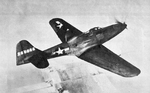 Bell P-63 Kingcobra from the right
 Bell P-63 Kingcobra from the Front
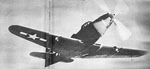
 Bell P-63 Kingcobra from the Right
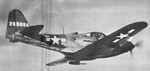
 Bell P-63 Kingcobra from the right
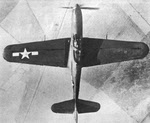 Bell P-63 Kingcobra from Above
 Bell P-63 Kingcobra from the Front
![]() Belmont, battle of, 7 November 1861
Belmont, battle of, 7 November 1861
![]() Belmont, battle of, 23 November 1899
Belmont, battle of, 23 November 1899
![]() Bentonville, battle of, 19-21 March 1865
Bentonville, battle of, 19-21 March 1865
 Berlin 1945: Theatres of Operation
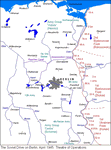
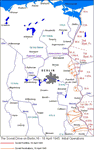 Berlin: The Initial Soviet Drive, 16-18 April 1945
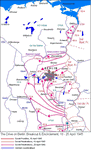 Berlin: Breakout and Encirclement, 18-25 April 1945
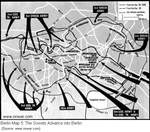 Berlin: The Soviets advance into the city
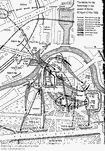 Berlin: Battle for the Reichstag, 30 April-2 May 1945
![]() Big Black River, battle of, 17 May 1863
Big Black River, battle of, 17 May 1863
![]() Big Black River, campaign 1863
Big Black River, campaign 1863
![]() Big Sandy River and Middle-Creek Battlefield, 10 January 1863
Big Sandy River and Middle-Creek Battlefield, 10 January 1863
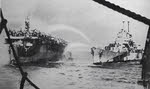 USS Birmingham fighting fires on USS Princeton
![]() Biter, HMS : during Operation Torch
Biter, HMS : during Operation Torch
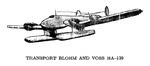
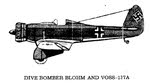 Blohm und Voss BV 137A left view
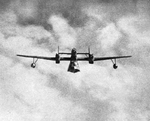
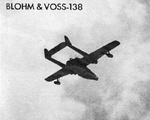
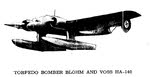
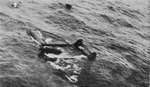 Blohm and Voss BV 138 shot down off Scotland
 Blohm und Voss BV 138 at Kiel, 1945
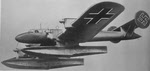
 Blohm und Voss BV 138 left view
 Blohm und Voss Bv 138 from the front
 Blohm und Voss Bv 138 from below
 Blohn & Voss BV 138 at Kirkenes, Norway
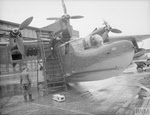
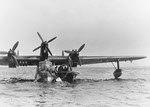
 Blohm & Voss Bv 138 being winched
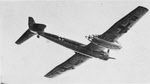
 Blohm und Voss Bv 139 in flight
 Blohm und Voss BV 139 left view
 Blohm und Voss BV 140 left view
 Blohm & Voss Bv 141 from Below
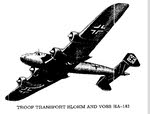 Blohm und Voss BV 142 - left under view
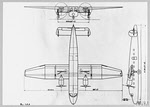 Plans of Blohm und Voss BV 144
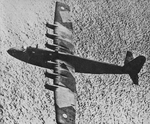 Blohm und Voss Bv 222 Wiking from Above
 Blohm und Voss Bv 222 from below
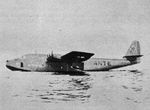 Blohm und Voss Bv 222 on the water
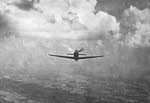
 Boeing XC-97 Stratofreighter in flight
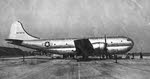 Boeing XC-97 Stratofreighter on the ground
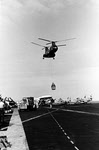 Boeing
CH-47 hovers over USS Coral Sea (CVA-43), 1965
Boeing
CH-47 hovers over USS Coral Sea (CVA-43), 1965
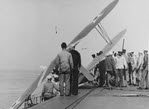
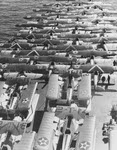 Boeing F2B-1, F3B-1 and Martin T4M on USS Saratoga (CV-3)
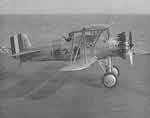
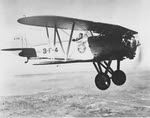 Boeing F3B-1 in flight, 7 January 1929
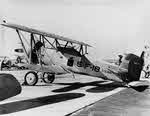
 Boeing F3B-1 of VF-2B crashed on USS Langley (CV-1)
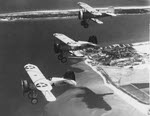 Boeing F4B-1 over Pensacola, 1930s
 Boeing F4B-1 of VB-1B on USS Lexington (CV-2)
 Boeing F4B-2 of VF-5B, early 1930s
 Boeing F4B-2 of VF-6B, 17 July 1931
 Boeing F4B-3 of VF-1B landing on USS Saratoga (CV-3)
 Boeing NB-1 Floatplane at Pensacola, February 1924
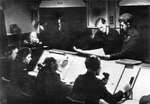 Bomber Command control room, 20 April 1944
 Bombsight, Mk IX Course Setting
 Fire fighting at Seria on Borneo
 Borodino - The Start of the Battle
 Borodino - The End of the Battle
 Boulton Paul Defiants of No.264 Squadron
![]() Boulton Paul Defiant I side plan
Boulton Paul Defiant I side plan
![]() Boulton Paul Defiant I front plan
Boulton Paul Defiant I front plan
 Boulton Paul Defiant I top plan
 Boulton Paul Overstrand gun turret
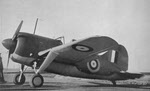
 Breda Ba.88 Lince from the right
BREN GUN
 Checking sights on Bren Gun barrel
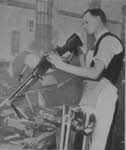 Checking the barrel of a Bren Gun
![]() Braxton Bragg's invasion of Kentucky, 1862
Braxton Bragg's invasion of Kentucky, 1862
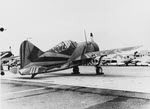
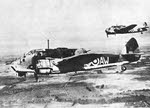
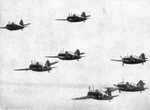 Brewster Buffaloes over Malaya
 Brewster F2A-2 Buffalo of VF-3, 1940
 Brewster F2A-1 'Buffalo' of VF-3, 1940
 Brewster F2A-3 'Buffalo' of VMF-212, Hawaii, 1942
![]() Brewster F2A Buffalo Front Plan
Brewster F2A Buffalo Front Plan
![]() Brewster F2A Buffalo Side Plan
Brewster F2A Buffalo Side Plan
 Plans of Brewster F2A-2 Buffalo
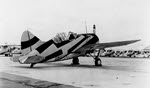
 Brewster F2A-2 Buffalo from the left
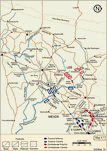 Bristoe Station Map 1: A.P. Hill pursues Warren's II Corps
 Bristoe Station Map 2: The Confederates approach Bristoe Station
 Bristoe Station Map 3: The Battle Opens
 Bristoe Station Map 4: Heth Begins His Wheeling Movement
 Bristoe Station Map 5: Final Preparations before the Cooke-Kirkland Attack
 Bristoe Station Map 6: Cooke and Kirkland Attack
 Bristoe Station Map 7: Cooke and Kirkland are Repulsed
 Bristoe Station Map 8: Reinforcements Arrive
 Bristoe Station Map 9: The Confederates Regroup
 Bristoe Station Map 10: Warren's II Corps Escapes
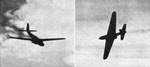
![]() Bristol Beaufort - three aircraft in formation.
Bristol Beaufort - three aircraft in formation.
![]() Bristol Beaufort - diving
Bristol Beaufort - diving
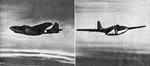
![]() Bristol Beaufort - just after making an attack
Bristol Beaufort - just after making an attack
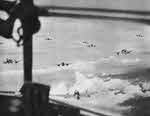
 Bristol Beauforts of Coastal Command
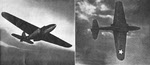
 Bristol Beaufort of No.42 Squadron
 Bristol Beauforts of the RAAF over New Britain
![]() Brown Bess Bayonet
Brown Bess Bayonet
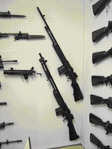 Browning Automatic Rifle M1918 and M1918A2
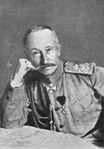 General Aleksey Alekseyevich Brusilov in 1916
 Bucker Bu 131B Jungmann - left view
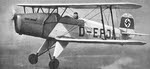 Bucker Bu 131 Jungmann from the left
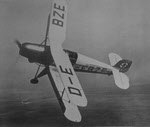 Bucker Bu 131 Jungmann in Flight
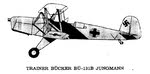
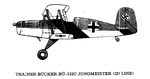
 Bucker Bu 133C Jungmeister - radial engine
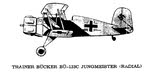
 Bucker Bu 133C Jungmeister - inline engine
![]() Bull Run/ Manassa, first battle of, 21 July 1861
Bull Run/ Manassa, first battle of, 21 July 1861
![]() Bull Run/ Manassa, first battle of, 21 July 1861: the campaign area
Bull Run/ Manassa, first battle of, 21 July 1861: the campaign area
![]() Bull Run/ Manassa, first battle of, 21 July 1861: the battlefield
Bull Run/ Manassa, first battle of, 21 July 1861: the battlefield
![]() Bull Run/ Manassa, second battle of, 29-30 August: Area of the campaign
Bull Run/ Manassa, second battle of, 29-30 August: Area of the campaign
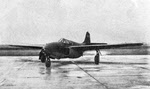
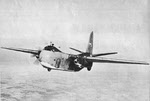 Budd RB Conestoga from the front
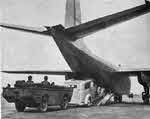 Loading Ramp of Budd RB Conestoga
![]() Bussaco, battle of, 27 September 1810
Bussaco, battle of, 27 September 1810
 B-24 Liberator (Consolidated)
  Battle of Britain Gallery
 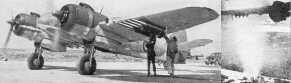 Bristol Beaufighter Gallery
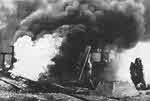
 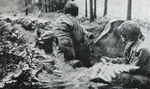 Bazooka crew, Andaines Forest
 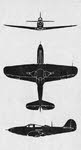 Plans of Bell P-39 Airacobra
 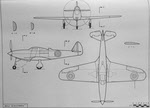 Plans of Bell P-39 Airacobra
  Berlin: The Stop Lines
 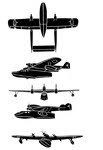 Blohm und Voss BV 138 Plans
 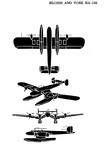 Blohm und Voss BV 139 Plans
  Blohm und Voss BV 140 Plans
 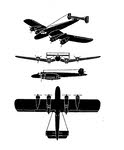 Blohm und Voss BV 142 Plans
 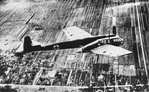 Blohm und Voss BV 141B-0
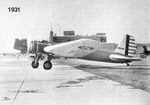 Boeing Y1B-9 from the left
 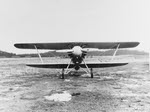 Front view of Boeing F2B-1
 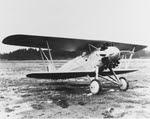 Side view of Boeing F2B-1
  Boeing Monomail
  The Borodino Battlefield
  Boulton Paul Defiant K8310
  Breda Ba.65 in flight
 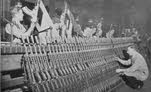 Bren Gun Production
  Prototype of Breguet Br 690
 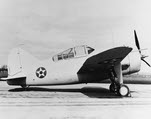 Brewster F2A-3 'Buffalo'
 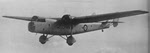 Bristol Bombay in Flight
 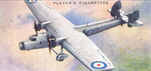 Bristol Bombay
 British Taylorcraft Auster
 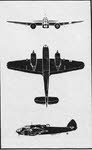 Plans of Bristol Beaufort
  Budd RB Conestoga in Flight
 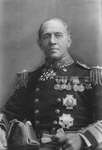 Burney,
Admiral Sir Cecil
Burney,
Admiral Sir Cecil